Use the Calendar view
Updated
A Calendar view places each record on the date in one of its date fields. A record with a start and an end date spans the days between them, so campaigns, bookings and leave read at a glance.
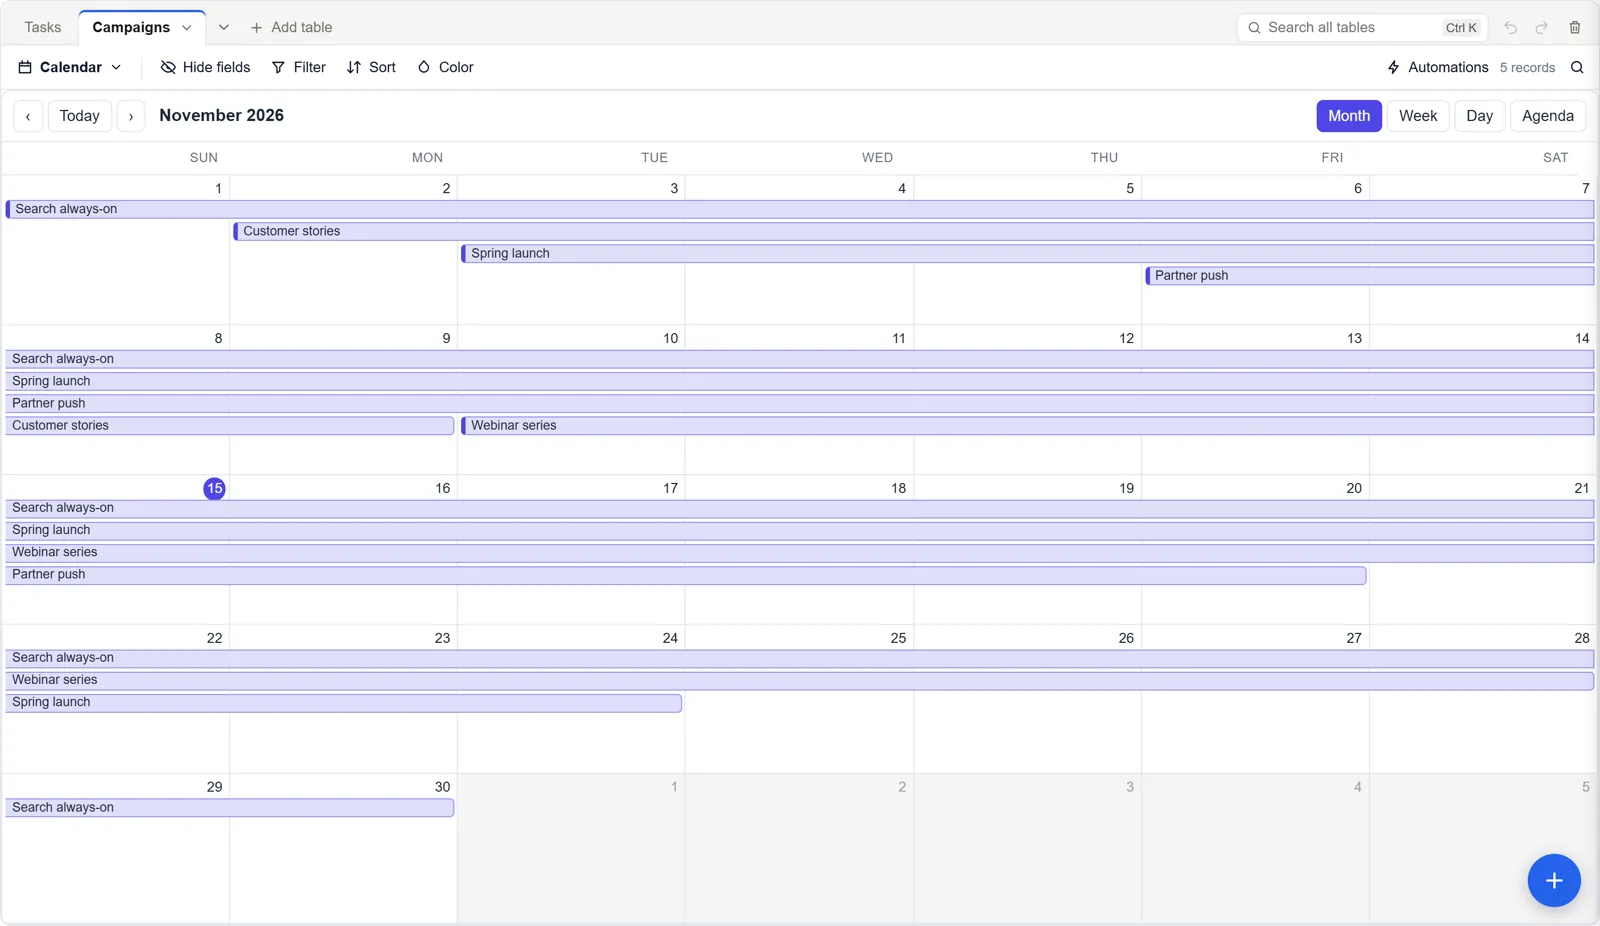
Make a calendar
- Open the views menu (the view's name at the left of the view bar).
- Under Create, choose Calendar.
- Pick the Date field, and an End date if records span several days (or leave it at None).
- Press Create view.
The table needs a date field; without one, Calendar is greyed out.
Move around
- Month, Week, Day and Agenda change the span. Agenda lists the days one under another.
- Today and the arrows move through time.
Work in it
- Drag an entry to another day to change its dates. Everyone looking at the base sees it move.
- Click an entry to open the record.
- The round + adds a record.
- Color in the view bar colours the entries by a single select field or by conditions, and Filter narrows what the calendar shows.
On a phone
The calendar has a layout of its own on a phone, and opens on the month.
- One line at the top: the arrows, the month's name (tap it to pick another month), Today, and a menu to choose Month, Week, Day or Agenda.
- Swipe left or right to go to the next or previous period.
- The month shows a dot for each entry on a day, up to three, and lists the picked day's entries under it. Tap a day to pick it.
- The week is a list of days, and an entry that runs all week is said once at the top. A day with nothing at a set time is a plain list, without empty hours.
- There is one round + to add a record.
Good to know
- Dragging changes both dates, so you can only move entries when you may edit both date fields.
- Records without a date are not on the calendar. Find them with a grid view filtered on is empty.
- For records side by side in lanes (by person, room or channel), use a Timeline. For work with progress and dependencies, use a Gantt.